What “Dialling In” Espresso Actually Means (And How to Do It Step by Step)
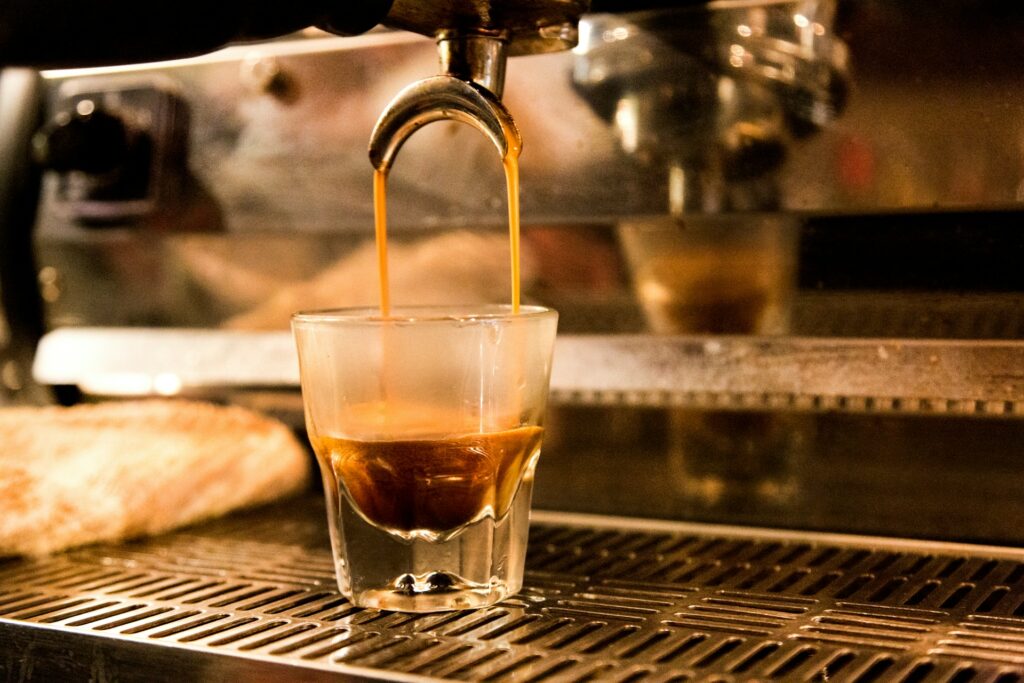
If you’ve spent any time reading about espresso, you’ve run into the phrase “dial it in” — usually said as if it’s obvious what that means. It isn’t, especially if you’re new to this. This guide explains exactly what dialling in means, why it matters, and walks through the process step by step, using a system rather than guesswork.
What Does Dialling In Espresso Mean?
Dialling in is the process of adjusting your grind size, dose, and yield until a specific bag of beans produces a balanced, well-extracted shot on your specific machine and grinder. It’s not a one-time setup — it’s something you repeat every time you open a new bag of beans, because roast level, bean density, and freshness all affect how water flows through the grounds.
The core logic behind dialling in is simple, and once you understand it, the whole process stops feeling mysterious:
- Shot time is controlled by grind size
- Extraction character (sour vs bitter) is corrected by grind size first, then temperature
- Strength and body are adjusted by dose and yield
Work through these in order, change one variable at a time, and write down every result. That’s the entire system.
Why You Have to Dial In Every New Bag of Coffee
This catches most beginners off guard: a grind setting that worked perfectly last week can produce a completely different shot with a new bag of the same coffee.
Coffee beans are hygroscopic, meaning they absorb moisture from the air. On humid days, beans swell slightly, which changes how water flows through the grounds and often requires a coarser grind to hit the same extraction time. On dry days, the opposite happens. Even a modest shift in humidity can move a properly dialled 30-second shot to 25 seconds, requiring a small grind adjustment to correct it.
Roast level and freshness matter just as much. A darker roast is more porous and extracts faster; a lighter roast is denser and needs more resistance to extract fully. A bag that’s been open for three weeks behaves differently than the same bag on day three. This is why dialling in isn’t a “set it and forget it” task — it’s a habit you build into starting any new bag.
What You Need Before You Start Dialling In
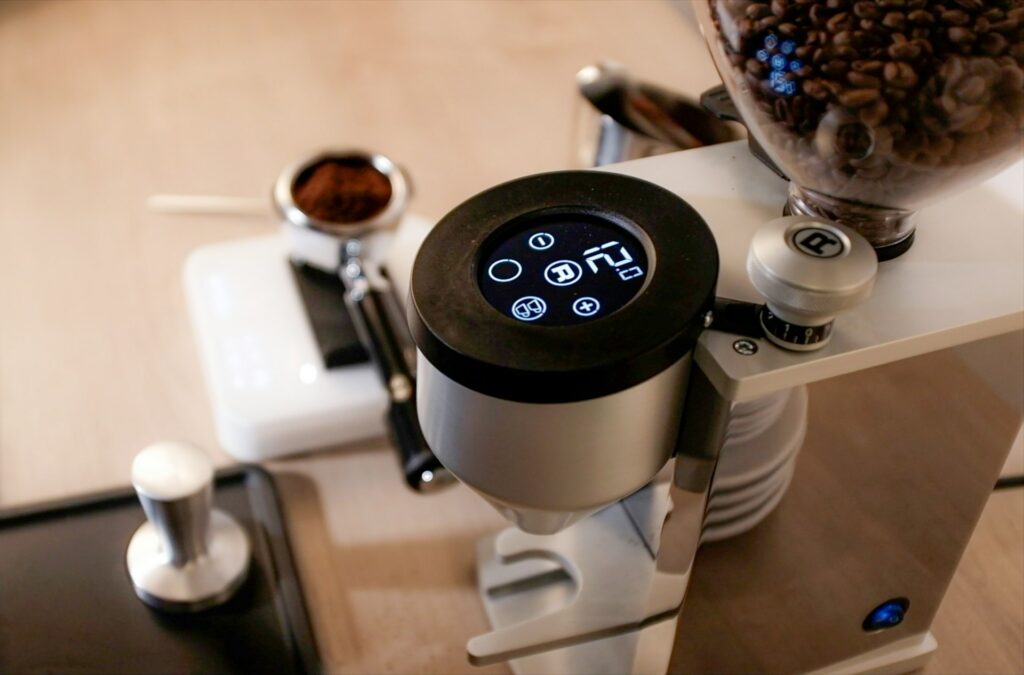
- An espresso machine
- A grinder with fine, repeatable adjustment (espresso specifically requires a much finer, more precise range than drip or pour-over grinders offer)
- Fresh beans
- A scale accurate to 0.1g
- A tamper that fits your basket
- A timer
- A clean portafilter and basket
If your grinder only has a handful of coarse adjustment steps rather than dozens of fine increments, dialling in becomes far harder — this is one of the most common reasons beginners struggle even when their technique is otherwise correct.
Step 1: Set Your Baseline
Start with a known reference point rather than guessing blind:
- Dose: 18g (standard for most double baskets — check your basket’s stamped rating if unsure)
- Target yield: 36g out (a standard 1:2 ratio)
- Water temperature: 93°C (200°F) as a starting point for a medium roast — adjust from here based on roast level
- Grind setting: your grinder’s standard espresso starting point, or the finest setting your grinder recommends for espresso if you have no prior reference
This baseline isn’t the final answer — it’s just where you start measuring from.
Step 2: Prepare the Puck Correctly
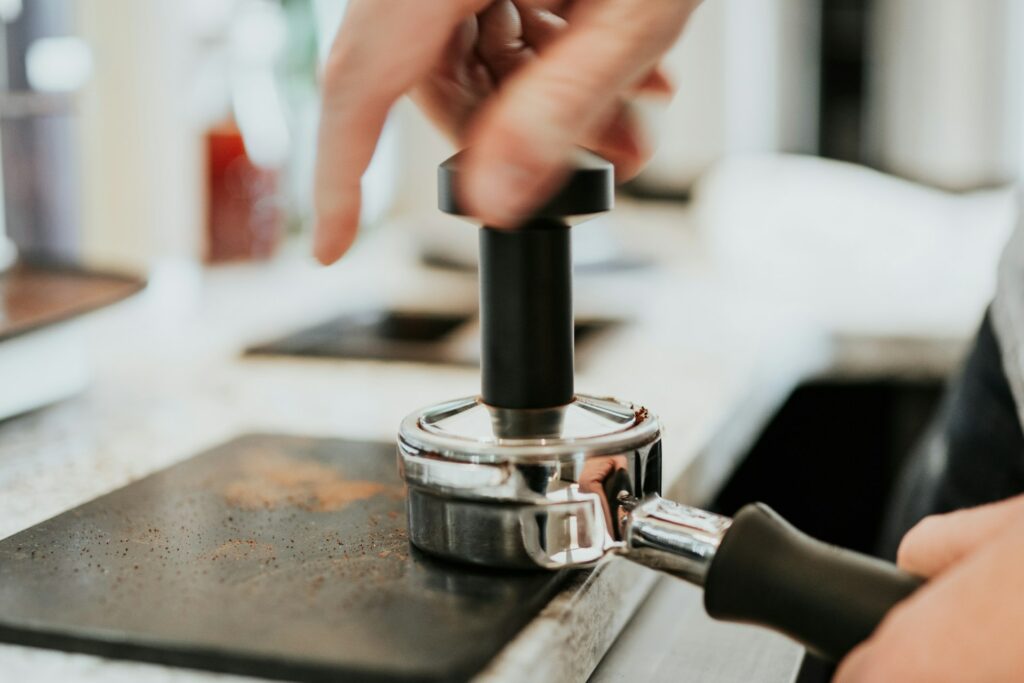
Before you even think about grind size, puck preparation has to be right, or none of your timing data will mean anything.
- Dose your coffee directly into the portafilter basket, weighing to your target (18g, ±0.3g)
- Distribute the grounds evenly using a distribution tool or by gently stirring in a circular motion — this breaks up clumps that would otherwise cause channeling
- Tamp level, straightening your wrist in line with your elbow so the tamper compresses the puck evenly rather than at an angle
A crooked or unevenly distributed puck will cause channeling, which throws off your shot time regardless of how well your grind is dialled — so get this step consistent before you start adjusting anything else.
Step 3: Pull a Shot and Read the Timing
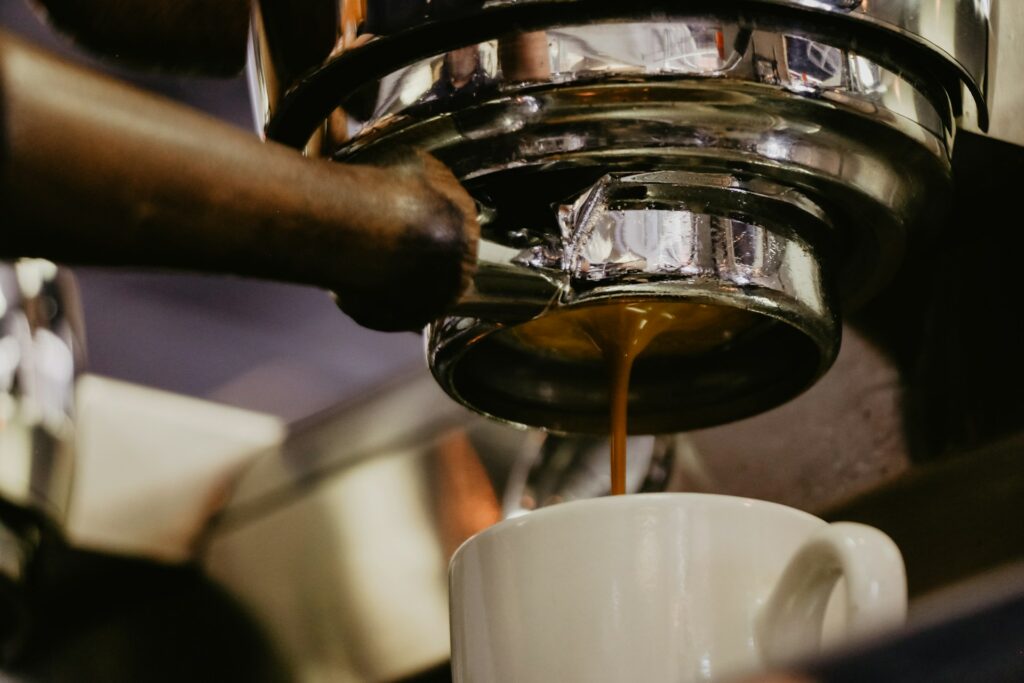
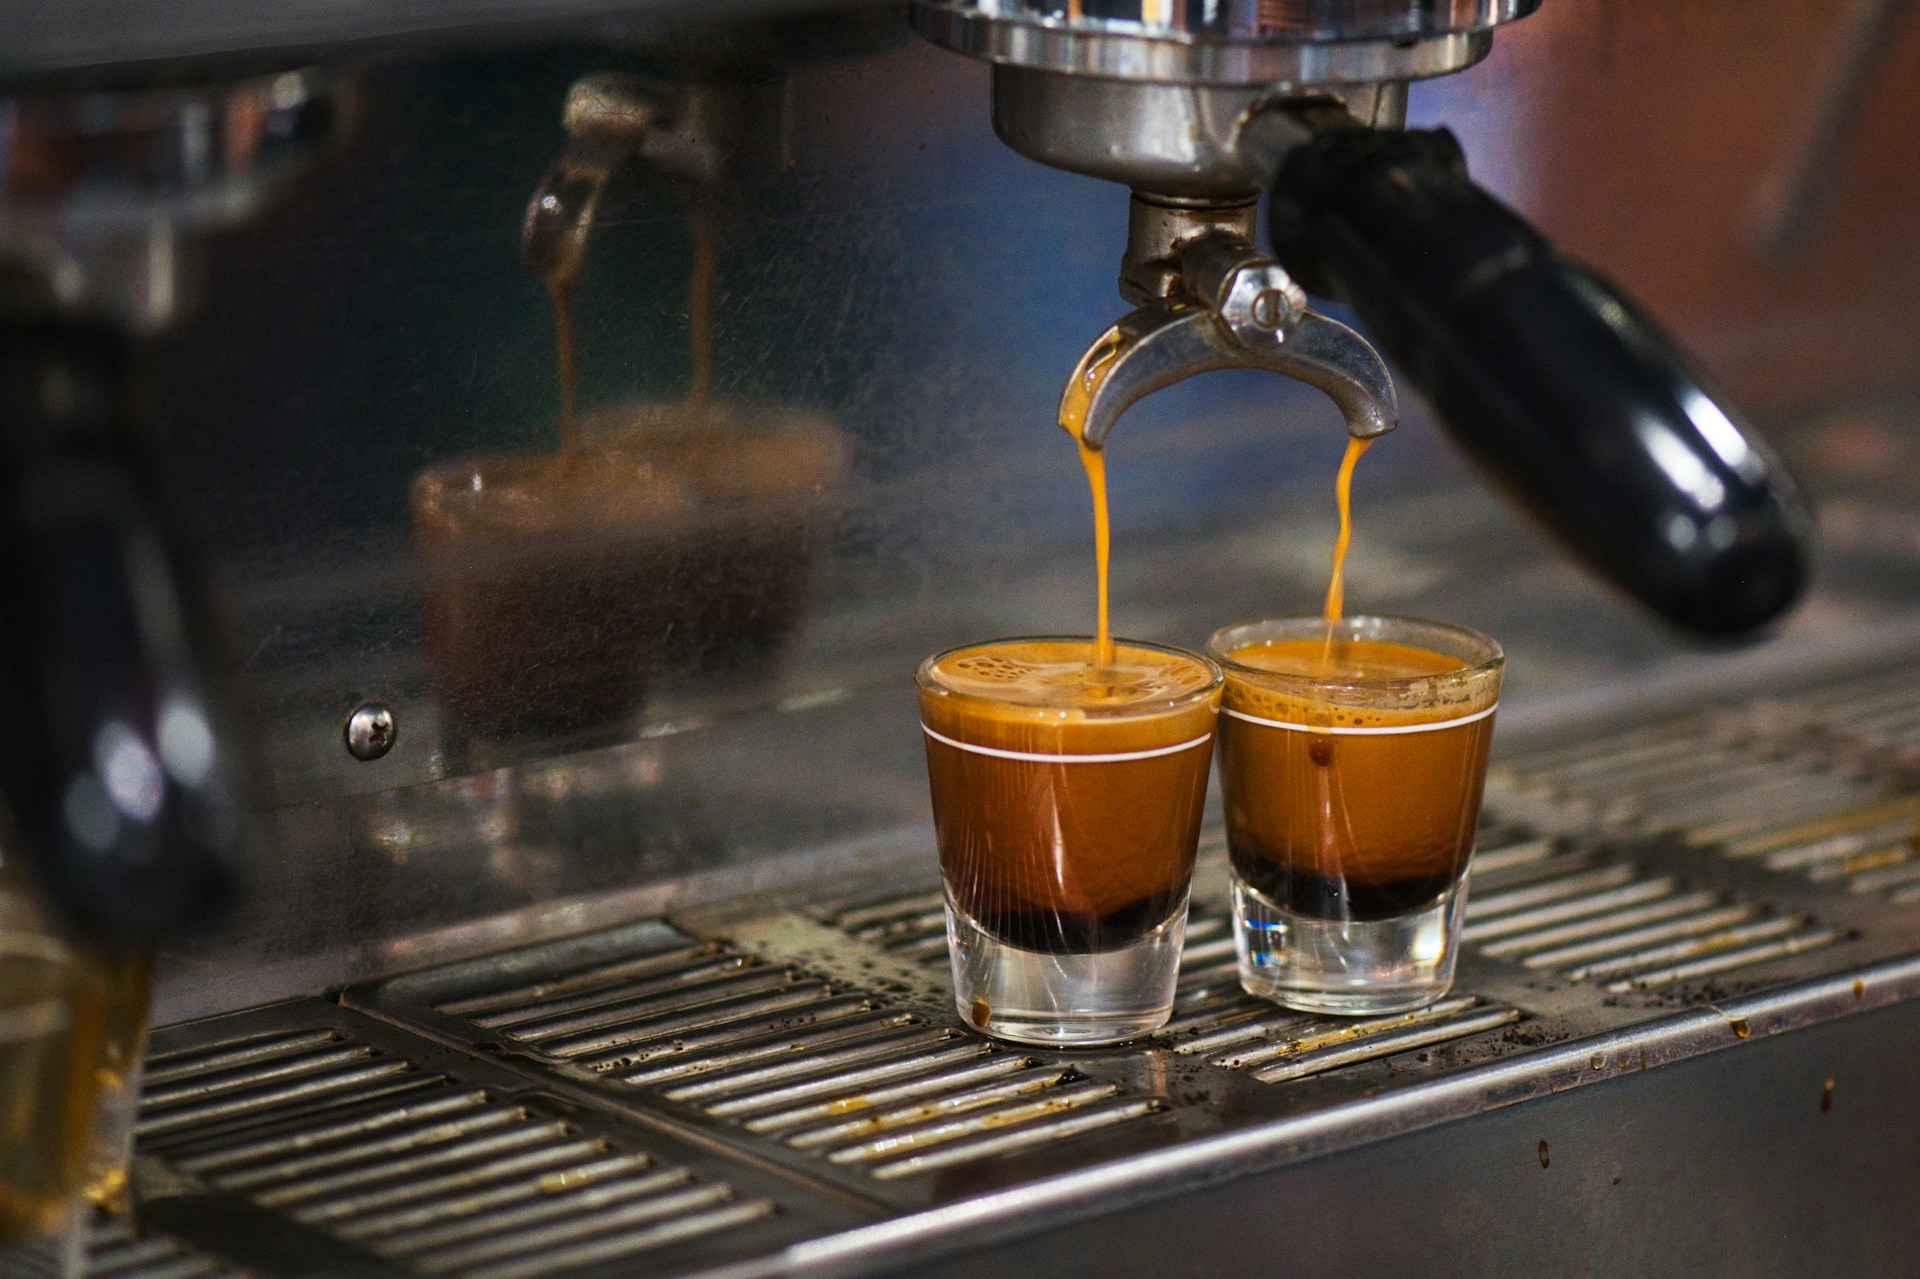
Start your timer the moment you start the pump, and stop it the moment your scale reads your target yield (36g for a standard double).
How to read your first shot:
- First drips appear within 5–8 seconds: you’re likely in the right range
- Coffee gushes out almost immediately: your grind is too coarse — expect a sour, under-extracted shot
- Only thick, dark droplets appear after 15+ seconds with barely any flow: your grind is too fine — expect a bitter, over-extracted shot
Let the shot run to your target yield regardless of time on this first pull, then taste it and note the total time. This is your diagnostic shot — its only job is to tell you which direction to adjust.
Step 4: Adjust Grind Size Based on Shot Time
This is the core adjustment loop, and it’s the same for every espresso setup:
- Shot finished in under 20 seconds: grind finer
- Shot finished in over 35 seconds: grind coarser
- Shot finished in 25–30 seconds: you’re in the target window — now taste and confirm
Make adjustments in small increments — a half notch on a stepped grinder, or a small turn on a stepless one. Pull another shot, weigh, time, and taste. Expect to repeat this 3–5 times before landing in the right window; this is normal and not a sign you’re doing anything wrong.
Target range: 25–30 seconds for most roasts, extending up to 35 seconds for lighter roasts, which sometimes benefit from a longer extraction to develop full sweetness.
Step 5: Taste and Correct for Extraction Character
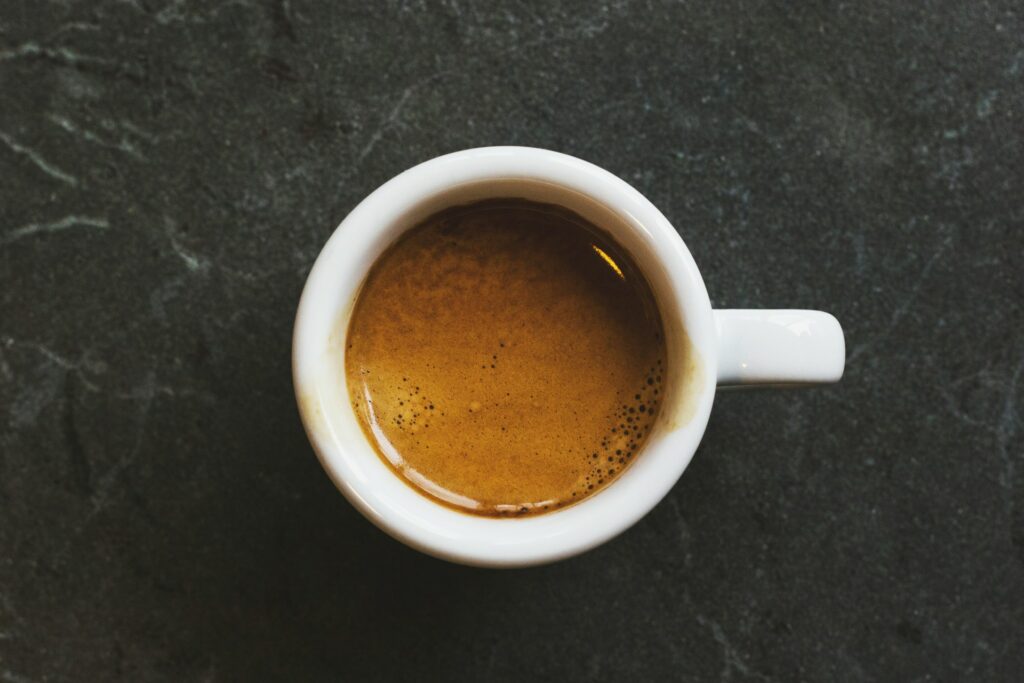
Once your shot time lands in the 25–30 second window, taste it and diagnose using the same logic covered in our guides on why espresso tastes sour and why espresso tastes bitter:
- Sour, sharp, thin: still under-extracted — grind slightly finer even if timing looked correct
- Bitter, harsh, ashy: still over-extracted — grind slightly coarser
- Balanced, sweet, with body: you’ve found your grind setting for this bag
Grind size is your primary lever here. Only adjust water temperature afterward, if taste issues persist despite correct timing — a couple of degrees up for sourness, a couple down for bitterness.
Step 6: Fine-Tune Dose and Yield
Once grind and timing are consistent, you can adjust dose and yield to fine-tune strength and mouthfeel — this is a secondary adjustment, not where you start.
- Increasing dose (e.g., 18g to 19g) generally increases body and strength
- Extending yield (e.g., 36g to 40g, a 1:2.2 ratio) generally increases sweetness and reduces intensity, useful if a shot tastes slightly harsh at a standard 1:2
- Shortening yield (e.g., 36g to 32g) concentrates the shot but risks pulling in sourness if done too aggressively
Adjust in small increments — around 0.5g at a time — and taste after every change.
Step 7: Record Your Recipe

Once you’ve found a combination that produces a shot you’re happy with, write it down: grind setting, dose, yield, time, and temperature. Note the bean and roast date too.
This record is what makes the next bag faster to dial in — you’re not starting from zero, you’re starting from your last known good setting and making small corrections for the new bag’s differences in roast, freshness, or humidity on the day.
How Long Does Dialling In Take?
For a new bag of coffee, expect 3–5 test shots before landing on a good setting — often achievable in under 10 minutes once you’re familiar with the process. For a completely new bean or roast level you haven’t worked with before, it may take slightly longer as you find a new baseline.
This is not a one-time skill you master and forget. Dialling in is a habit you repeat with every new bag — but it gets faster and more intuitive the more you do it, because you start recognizing patterns in how specific roast levels and bean origins behave.
Common Dialling-In Mistakes to Avoid
Changing multiple variables at once. If you adjust grind, dose, and temperature simultaneously, you won’t know which change actually fixed (or broke) the shot. Change one thing, taste, then decide the next move.
Ignoring puck prep. A channeling shot from uneven distribution or crooked tamping will produce inconsistent timing no matter how well your grind is dialled — fix puck prep before blaming the grind.
Expecting one setting to last forever. Humidity, bean freshness, and switching bags all shift your ideal grind setting. Check your first shot of the day rather than assuming yesterday’s setting still applies.
Skipping the scale. Eyeballing dose or yield introduces variability that makes it impossible to diagnose problems accurately. A cheap scale accurate to 0.1g removes this variable entirely.
Summary: The Dialling-In System in Order
- Set a baseline: 18g dose, 36g yield, ~93°C, mid-range grind setting
- Prepare the puck correctly — distribute, tamp level
- Pull a shot, timing from pump start to target yield
- Adjust grind size based on shot time (finer if too fast, coarser if too slow)
- Taste and correct for sour or bitter, adjusting grind first, temperature second
- Fine-tune dose and yield for strength and mouthfeel
- Record your final recipe for next time
Dialling in isn’t complicated once you understand the logic — it’s systematic, not mysterious. Follow the order, change one variable at a time, and most home setups land a genuinely balanced shot within 5–10 attempts.
Once you’ve got your shot dialled in, keep your settings recorded — the next time you open a new bag, you’ll be adjusting from a known baseline instead of starting from zero.